Remove Coupon?
You are £50 away from free shipping
Your Basket is Empty!
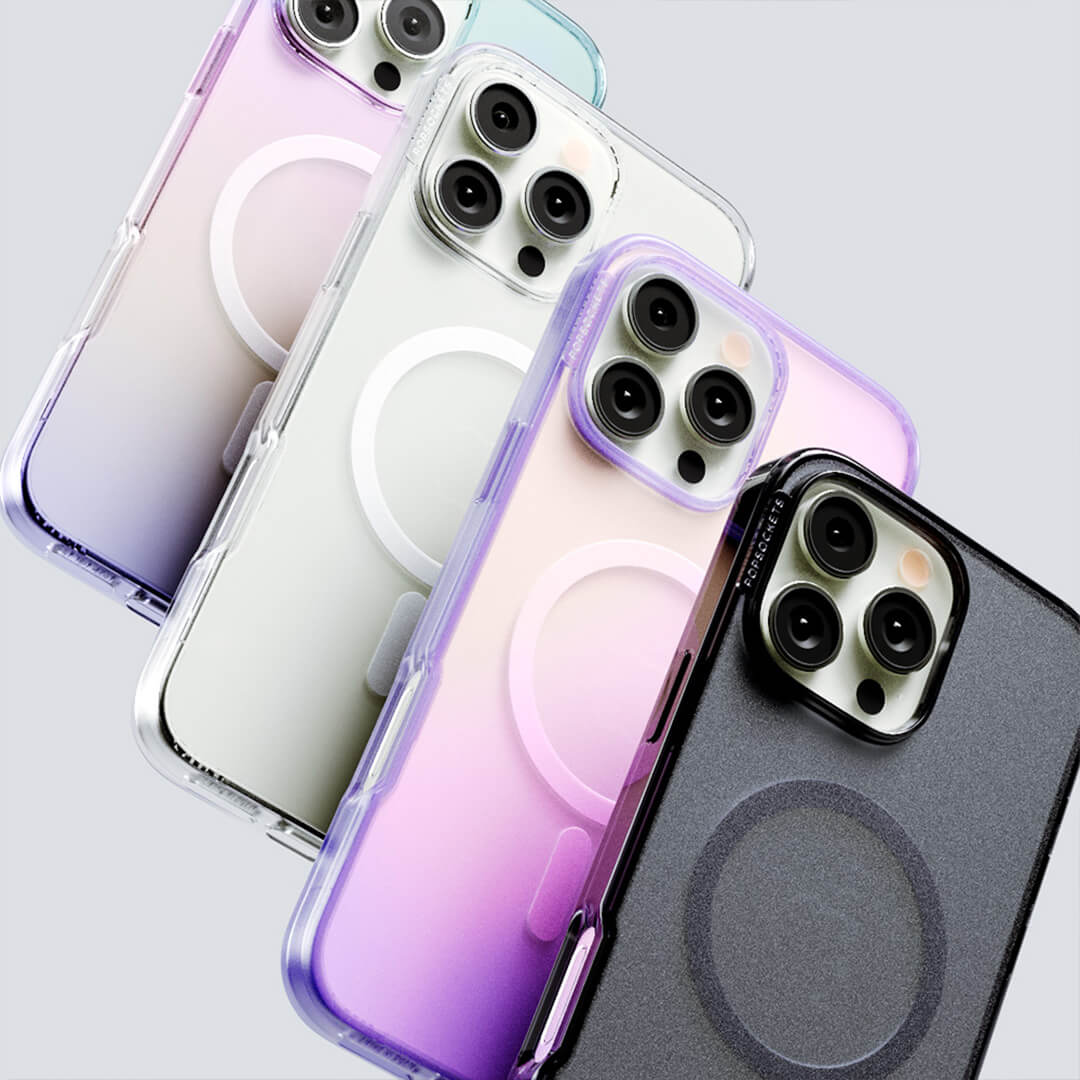
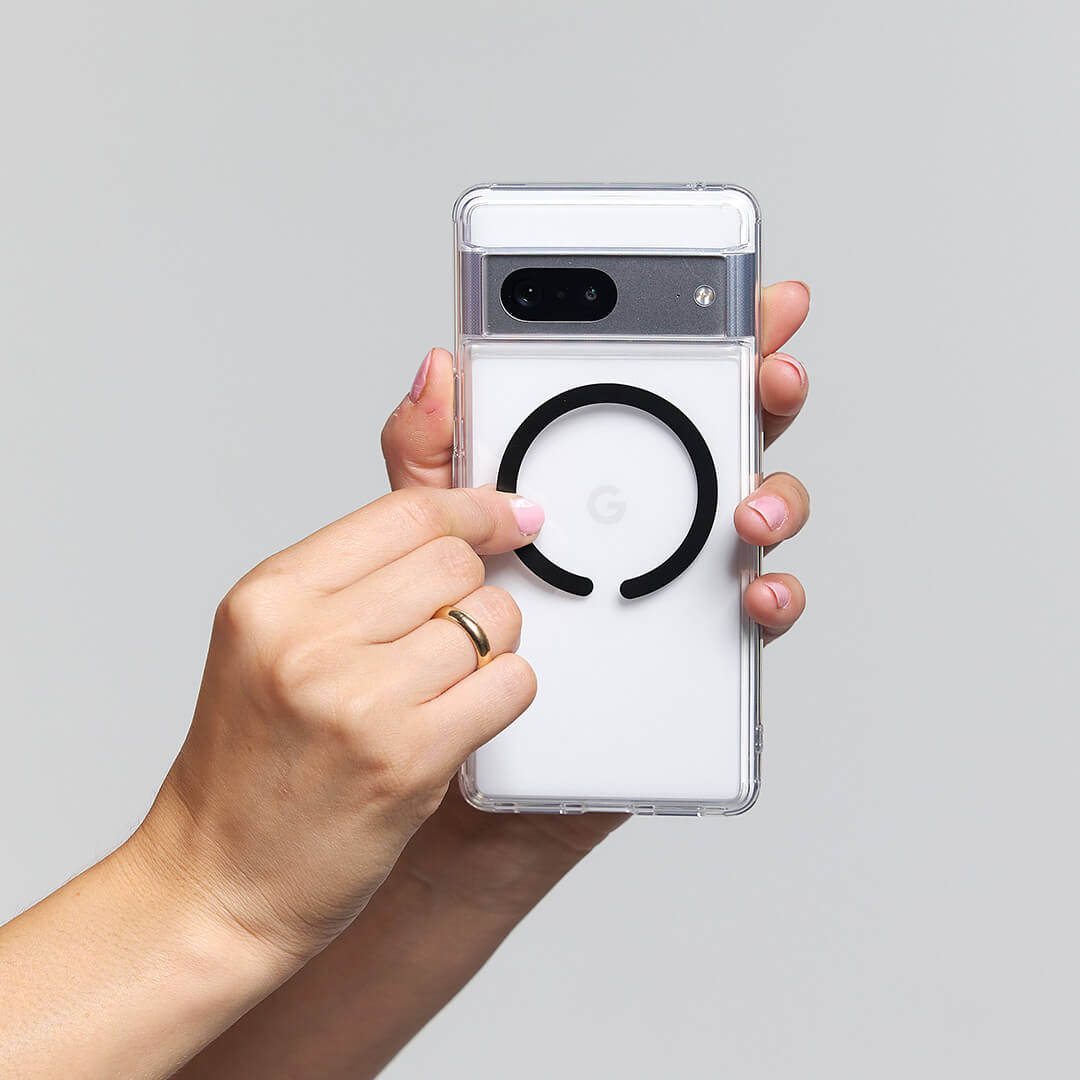
Shop Cases
Shop Custom
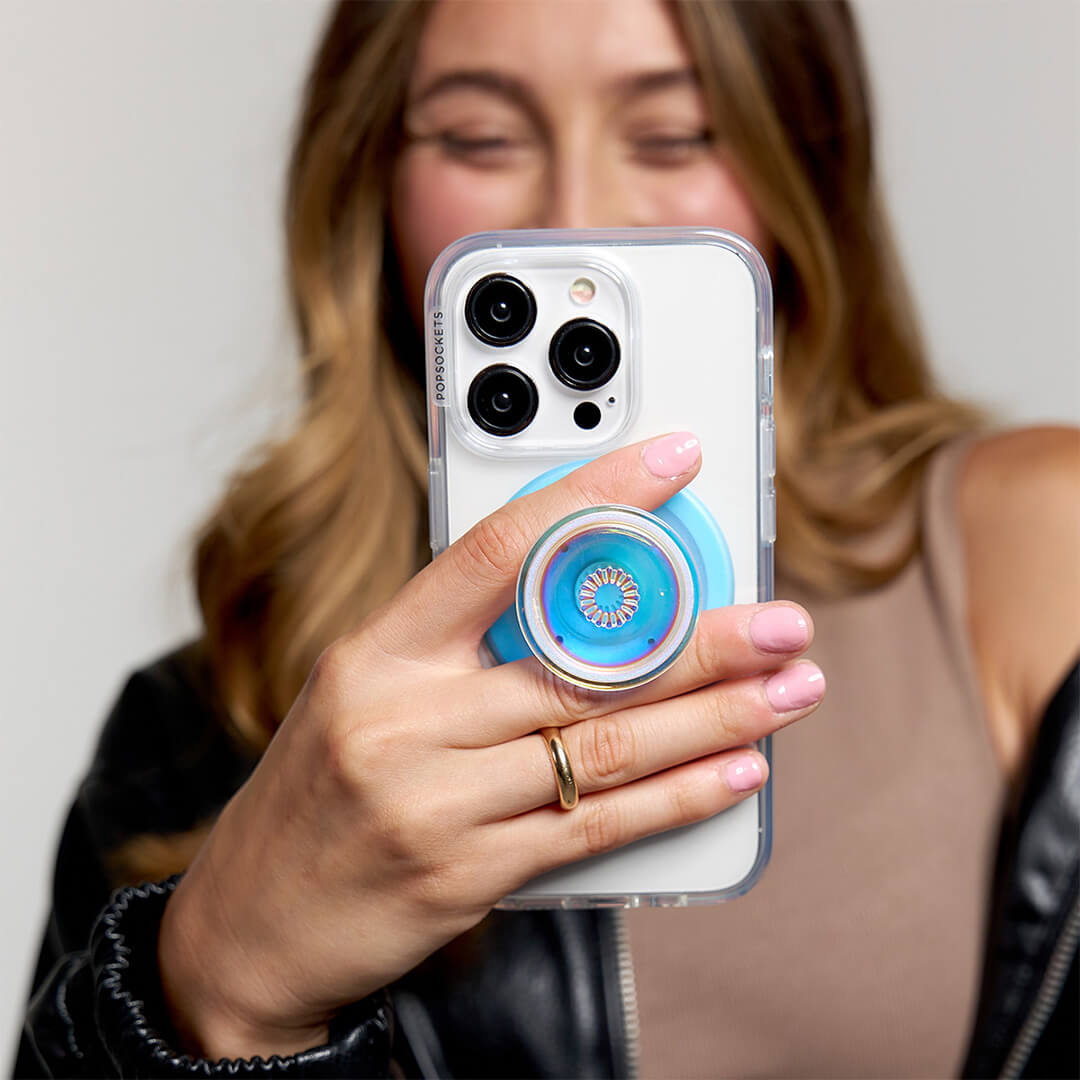
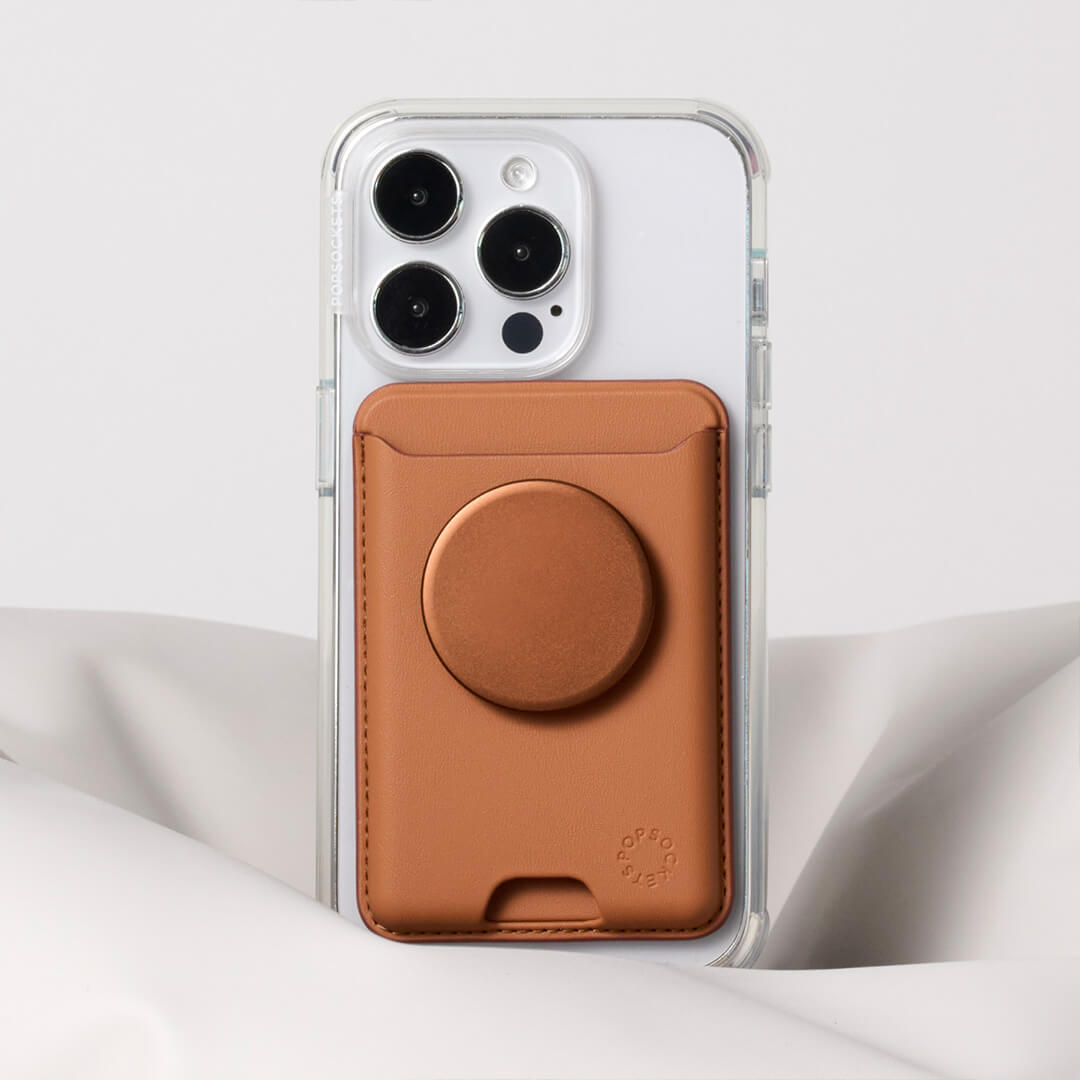
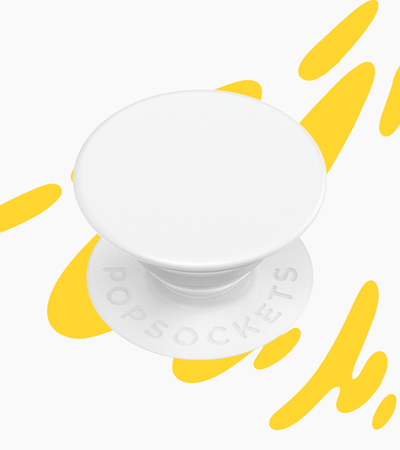
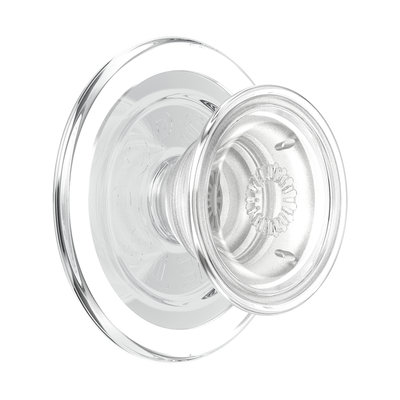
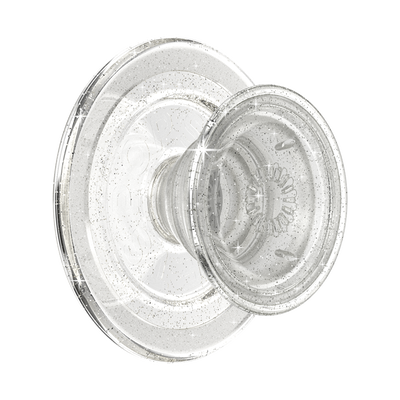
Shop Grips
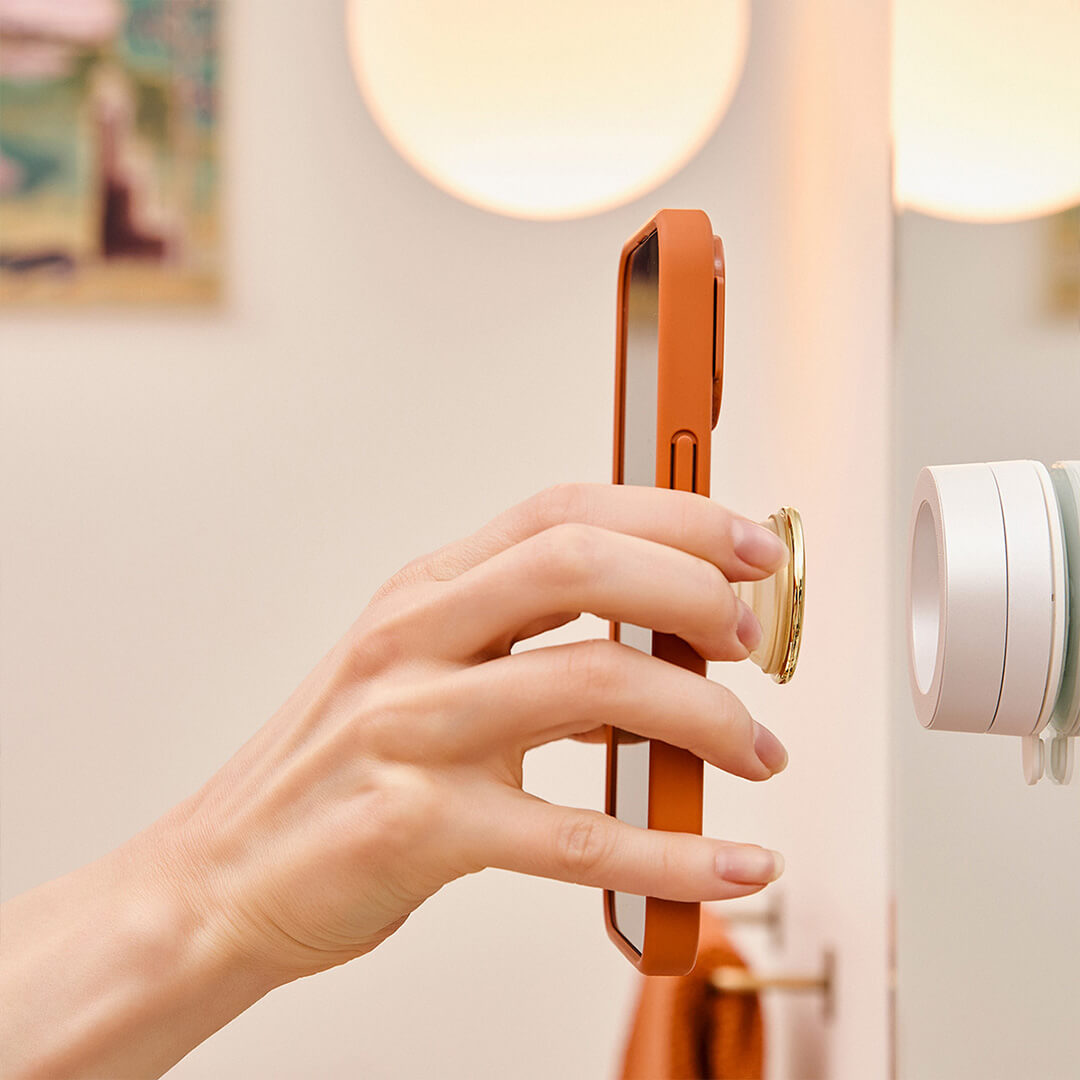
Shop MagSafe
Shop Mounts
Shop Wallets
Shop our selection of phone grips, wallets, and cases. Now for MagSafe, too.
Beetlejuice
Case Only
Squid Game
Spins
Pokémon
Shop PopSockets on a regional site for a better shopping experience.